v5.0 APP 登陆后闪退 解决方案
近期反应有 app 登录后直接闪退的情况出现,排查后发现是启用进程守护模块出现崩溃问题
经问题分析发现是安卓 在 8.0 版本以前,安卓的通知是没有进行分类的,为了进一步优化管理通知,Google 在发布 android 8 时对通知做了修改优化,出现了通知渠道功能。具体原理可见:Notification Channels
自定义模块修改前
public int onStartCommand(Intent intent, int flags, int startId) {
        if (intent == null) {
            return START_STICKY;
        }
        packageName = intent.getStringExtra("packageName"); // 记录是哪个应用进程启动的服务

        startForeground(1, new Notification());
        bindService(new Intent(this, DaemonService.class), mServiceConnection, Context.BIND_IMPORTANT);
        return START_STICKY;
    }
自定义模块修改后
public int onStartCommand(Intent intent, int flags, int startId) {
        if (intent == null) {
            return START_STICKY;
        }
        packageName = intent.getStringExtra("packageName"); // 记录是哪个应用进程启动的服务
        Notification.Builder builder = new Notification.Builder(this.getApplicationContext())
                .setContentIntent(PendingIntent.getActivity(this, 0, intent, 0)) // 设置PendingIntent
                .setContentTitle(getResources().getString(R.string.app_name))
                .setContentText("正在上传...") // 设置上下文内容
                .setWhen(System.currentTimeMillis()); // 设置该通知发生的时间
        String CHANNEL_ONE_ID = "com.primedu.cn";
        String CHANNEL_ONE_NAME = "Channel One";
        if (Build.VERSION.SDK_INT >= Build.VERSION_CODES.O) {
            //修改安卓8.1以上系统报错
            NotificationChannel notificationChannel = new NotificationChannel(CHANNEL_ONE_ID, CHANNEL_ONE_NAME, NotificationManager.IMPORTANCE_MIN);
            notificationChannel.enableLights(false);//如果使用中的设备支持通知灯,则说明此通知通道是否应显示灯
            notificationChannel.setShowBadge(false);//是否显示角标
            notificationChannel.setLockscreenVisibility(Notification.VISIBILITY_SECRET);
            NotificationManager manager = (NotificationManager) getSystemService(NOTIFICATION_SERVICE);
            manager.createNotificationChannel(notificationChannel);
            builder.setChannelId(CHANNEL_ONE_ID);
        }
        Notification notification = builder.build(); // 获取构建好的Notification
        notification.defaults = Notification.DEFAULT_SOUND; //设置为默认的声音
        startForeground(1, notification);
        bindService(new Intent(this, DaemonService.class), mServiceConnection, Context.BIND_IMPORTANT);
        return START_STICKY;
    }
APICloud 编译 app 闪退解决方案
1、下载文中附件 自定义模块
- 自定义模块附件,见文末
2、上传到 APICloud 自定义模块 命名为 moduleProcessAlive_2022 并替换 moduleProcessAlive 模块(具体操作:自定义模块上传)
3、并将前端 v5.0APP 代码修改如下
4、修改后重新编译
- 自定义 Loader 进行真机调试
- 云编译打包
// 前端V5app项目
// src/project/Menu/App.vue下
// 守护进程
    startAlive() {

      // eslint-disable-next-line no-undef
      // let moduleProcessAlive = api.require("moduleProcessAlive");
         // 改为
      // eslint-disable-next-line no-undef
      let moduleProcessAlive = api.require("moduleProcessAlive_2022");

      let params = {};
      moduleProcessAlive.startAlive(params, function (ret, err) {
        if (ret) {
          let data = ret.data;
          console.log(JSON.stringify(data));
        } else {
          alert(JSON.stringify(err));
        }
      });
    },
// 并且将之前注释的守护进程代码打开
mounted() {
	...
    this.startAlive(); // 注释打开
    ...

}
测试
安卓 5 没有权限提醒

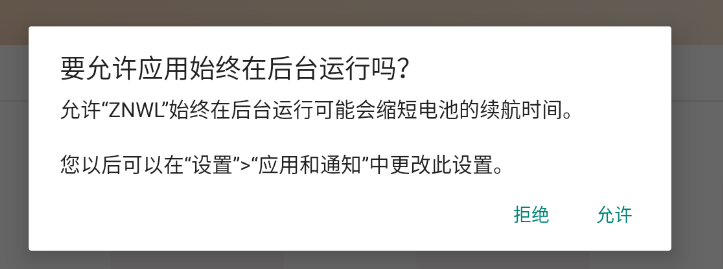
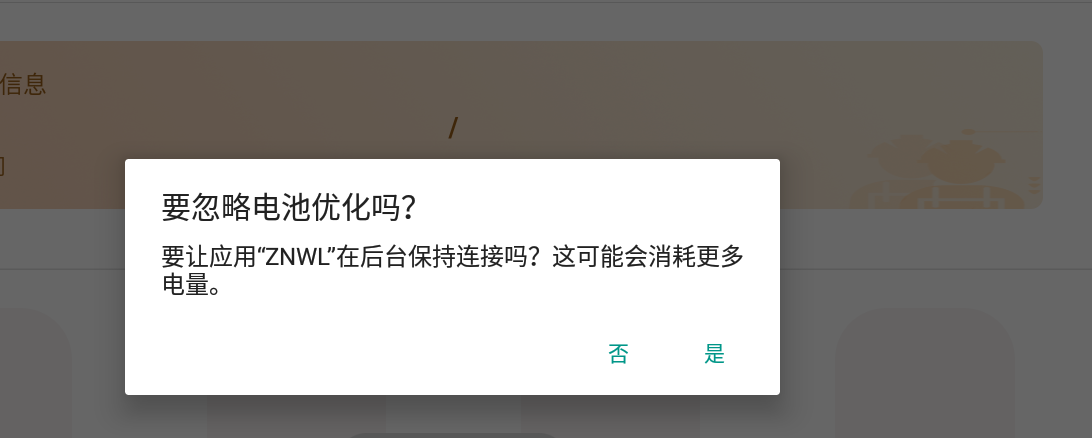
安卓 7.1.2 权限请求

安卓 9 权限请求

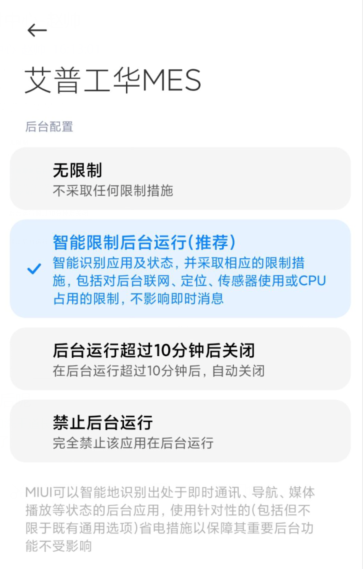
安卓 11 小米系统 权限请求
附件
moduleProcessAlive_2022.zip
参考文章:
达摩院自定义模块文章: apicloud 自定义模块 - 分享录屏、笔记合辑
安卓 notification 报错处理办法:https://blog.csdn.net/u010227042/article/details/108433960
自定义模块使用说明:https://docs.apicloud.com/Module-Dev/Upload-custom-module
